Customize Landing Page#
To use a customized landing/sign-up page, create a Kustomize overlay that overrides the default landing page.
Overlay Template#
To customize the landing/sign-up page, create an overlay
kustomization.yaml file with the following content:
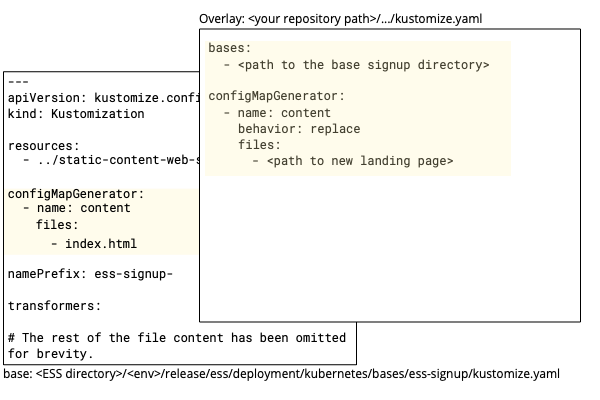
bases:
  - <path to the base sign-up directory>

configMapGenerator:
  - name: content
    behavior: replace
    files:
      - <path to new landing page>
The kustomization.yaml overlay specifies:
basesentry, which specifies the path to the base signup directory (<your ESS directory>/<env>/release/ess/deployment/kubernetes/bases/ess-signup/).configMapGeneratorentry, which specifies the new landing page.
Procedure#
To use a different landing page, create an overlay that overrides the
specified configMapGenerator in the base kustomization.yaml:
In your source repository for your custom overlays,
Create a new directory for your overlay as described in Customize ESS. For example:
mkdir overlay-signup-page
cd overlay-signup-page
Place your new landing page file, for example
index.htmlin the overlay directory.In the directory, create a new
kustomization.yamlwith the following content (substitute your ESS directory path and environment)bases: - <your ESS directory>/<env>/release/ess/deployment/kubernetes/bases/ess-signup/ configMapGenerator: - name: content behavior: replace files: - index.html
To verify the overlay, you can build the overlay and output to a file, such as
kustomized.yaml, for review:kustomize build > kustomized.yaml
To preview the changes that will be applied to your cluster, you can use
kubectl diff:kubectl diff -f kustomized.yaml
When you are ready, you can apply the changes to your cluster:
kustomize apply -f kustomized.yaml
For more information on Kustomize, see Declarative Management of Kubernetes Objects Using Kustomize.